January is usually one of the months that I have time to work on personal projects. One of my FAVORITE projects is our personal photo books! Every few years I take the time to put these books together. The last time I sat down to do this was in 2011 and now that it’s 2016, it’s time for another round! I have been a busy bee these last few weeks. So far I’ve finished Eden’s Birth – 4 years old book, and now I’m working on Anika’s Age 4-Age 8 book. Over the years I’ve developed a system for saving photos and creating books.
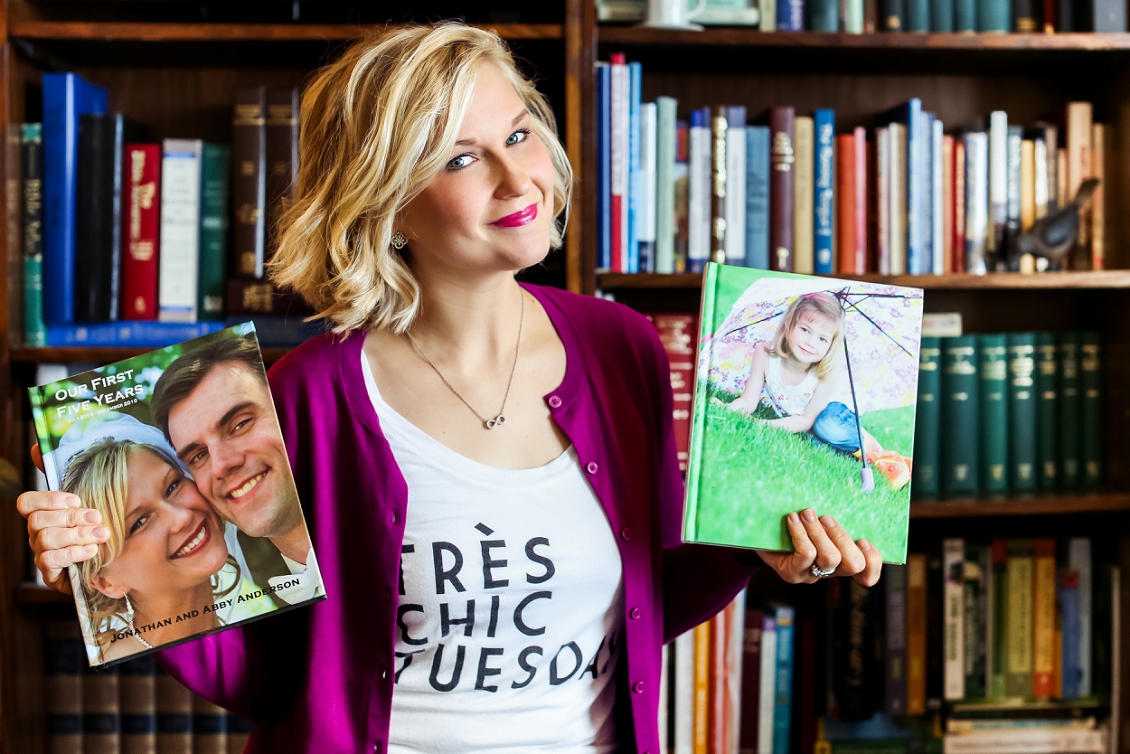
In the photo below, I’m holding two books. One holds photos from the first five years of our marriage. It covers all our major events: from our wedding day in 2005, to building a house, having our first child, finishing schooling for degrees, etc. Plus various trips we took together before and after we started having kids. The other book I’m holding is Anika’s baby book. I just ordered Eden’s first book, so I’m eagerly waiting for the UPS guy to come to my doorstep!! I don’t know who is more excited, me or Eden! She can’t wait to see her memory book!

Perhaps creating photo books is on your list of things to-do. It’s a BIG job to keep track of your photos, am I right?? In case it might help, I thought I’d share some of my favorite tips with you.
Abby’s 5 Tips for Personal Photo Books:
1. Take Photos that Matter. Photo book success starts in-camera! Digital cameras have been a blessing and curse. Yes, you can take 59 photos of you in front of one landmark on your vacation, or of your child opening his birthday gifts. (Child holding gift *SNAP*, child tearing at the wrapping paper *SNAP*, child getting wrapping paper entirely off *SNAP*, child looking up with excited face, *SNAP*, child holding the gift for a nice photo *SNAP*… you get the idea) Some people get excited when they discover “burst” modes on their camera. It means you simply hold down the shutter button and your camera will fire like a machine gun! You can take 8 photos per second! There is a time and place to use such a great feature. But unless you reign yourself in, you’re going to be stuck with bulging memory cards and a lot of unimportant photos that you’ll never use. My advice? Think before you shoot. When you need to take five shots to get a good photo, do it and be thankful for digital technology. BUT — don’t do it all the time. When you are 80 years old and you look back at photos of your kids, having ONE photo of them blowing out candles on their 5th birthday would be amazing! Take the one photo that matters. And then put the camera down and enjoy the party!
2. Regularly Edit Your Photos. You have all these great photos on your camera….now what?! I truly believe this is the hardest part for most people. You need to process your images! Take the time to plug the memory card into your computer, organize and edit the photos. This part of the work is not fun. But it is a necessary chore, just like paying the bills and taking out the garbage. Just schedule it in with your monthly duties and make it a priority. When I download my cards, the first thing I do is pick the best images. (Throw away the rest!) I take the best images, edit them and then save to a folder on my hard drive. On my computer I have a “2016 Personal Photos” folder, and inside are 12 folders: one for each month! At the end of the year, I have 12 folders full of edited images from the year. It’s a beautiful thing! I use Adobe Lightroom for my sorting and editing, but if you’re looking for a free option you should check out iPhoto or Picasa!
3. Simple is Best. Some people have the heart to spend time creating detailed scrapbooks of photos. They fill them with ornamental stickers and frames and cute quotes. (Here’s what I say to that) When it comes to photo books, I believe simple is best. Put one photo per page, or two, or four. Write simple captions, and move on to the next page. I am a creative person and I LOVE beautiful things. But my philosophy for my kids’ books is that it doesn’t need to be fancy – it just needs to be there! You don’t need to put a lot of creative effort into making the book an artistic masterpiece.
4. Bite Sized Chunks. When you have your photos all edited and prepped in folders, making a book is easy and fun! I use a program called BookSmart by Blurb. I cannot recommend it enough! Divide your work into bite sized chunks. You don’t have to get it all done in an afternoon or a day. Take two months of photos at a time. Import photos to the program, drag-and-drop them onto the pages, add captions. Take a break, drink some tea, then go back. Do another two month chunk. Before you know it, you’ll have 4 years done and it will be awesome. If you like something even more minimalist/modern, another website to check out is Artifact Uprising.
5. Uprades! When it’s time to order your book, don’t hesitate to pay an extra few dollars for premium paper and upgraded covers. I don’t know about you, but my kids LOVE flipping through these books. I want them to be as sturdy as possible so they can enjoy them for years.
Have a Trés Chic Tuesday!
♥AA
Related Posts
+ view the comments


Hi Abby! I’m a former Fargoan and aspiring photog, love your work and your blog! Great advice for book making. I’ve been making personal photo books for the past 4 years. I do a yearly one and then one for special trips or vacations. My kids absolutely love to look through them, it’s such a great way for them to remember the fun times. I was using MyPublisher and those books are pretty good too. For my 2015 book I used Blurb and just got the book last week, love them! Great advice!
Hi Megan!!! Thanks so much for commenting — nice to meet you!!!! I checked out your website and it is beautiful. MyPublisher is another good suggestion, I’ll have to check that out.